3D Modeling
A sculpt of an assemblage of an orange, banana, and grilled cheese on a plate resting on a table. All are animated together to spin 360° while the camera stays in a bookmarked position for a complete loop. Objects are textured with simple materials that allow smaller details to still be visible. The scene is lit with a skydome, point lights, and areas lights with warm colors. Rather than a render, the clip is a playblast with settings adjusted to allow for the highest possible quality.
Autodesk Maya
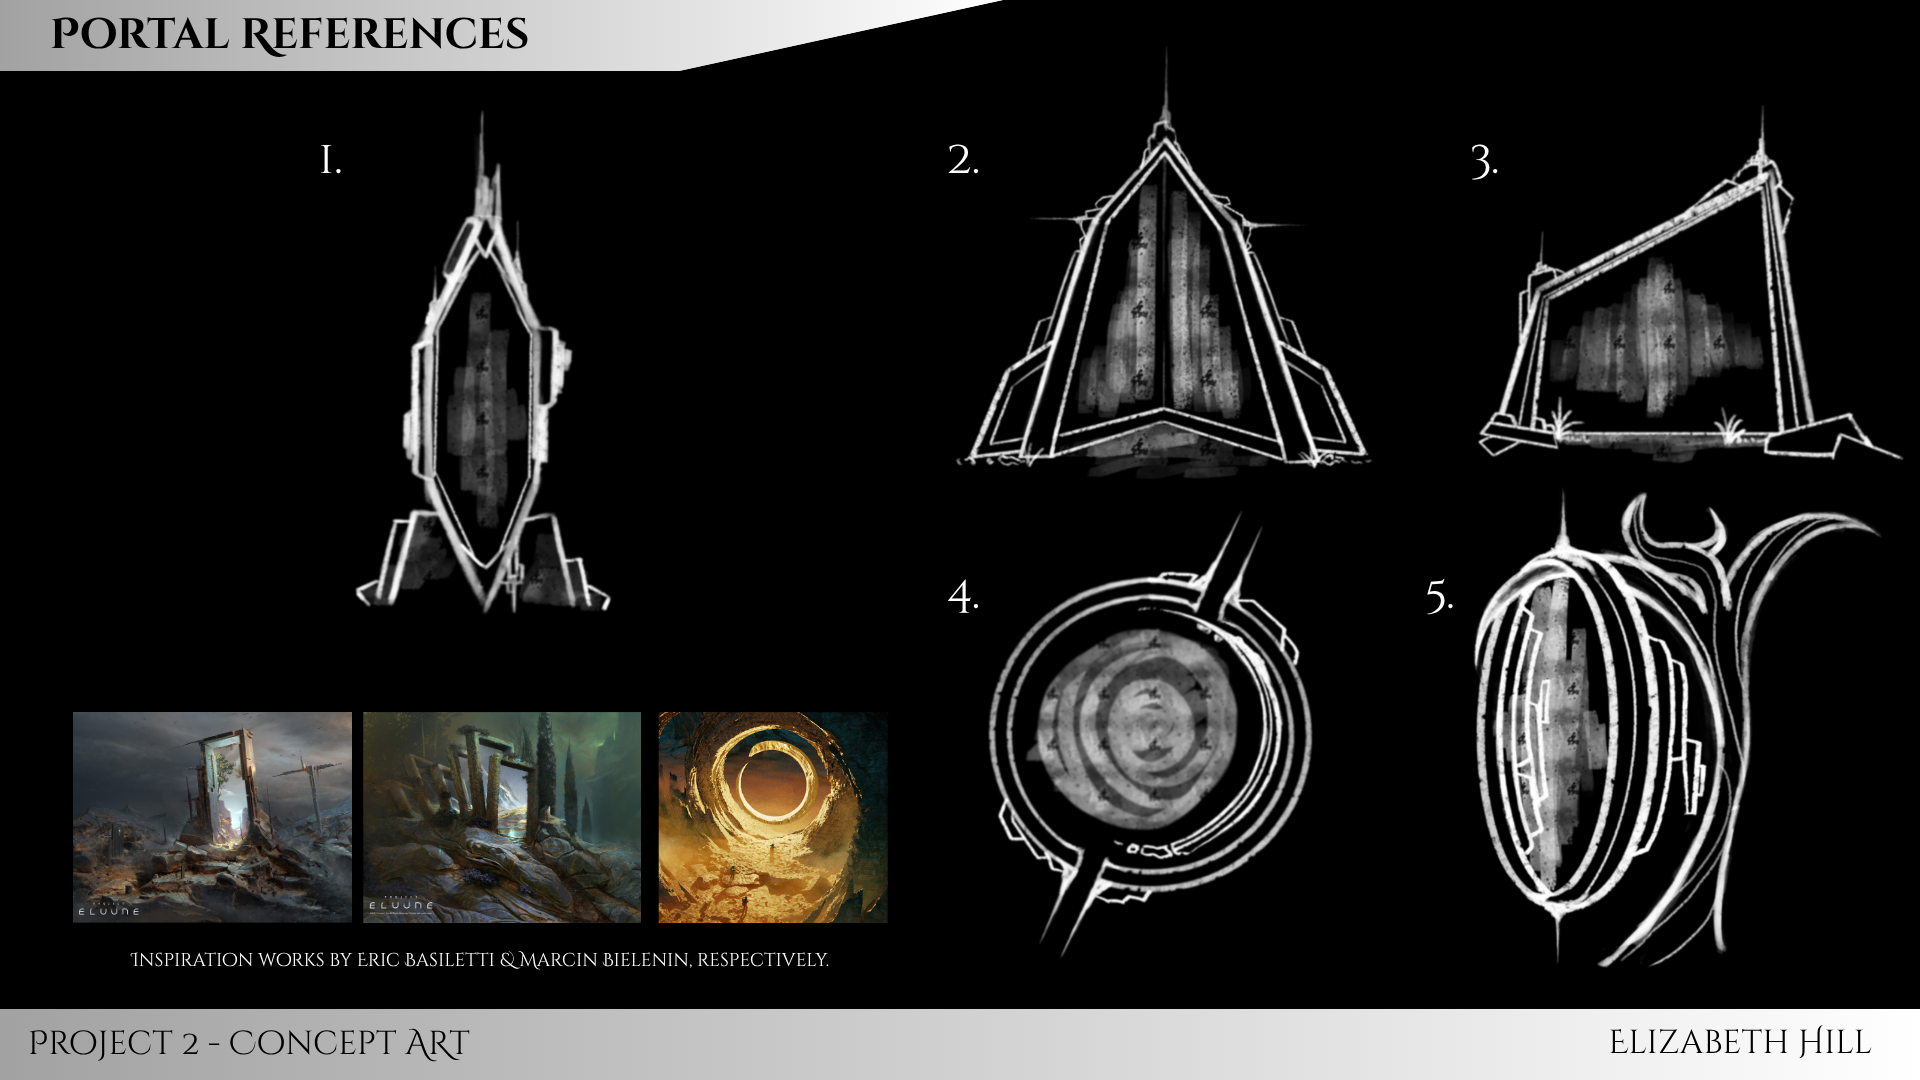
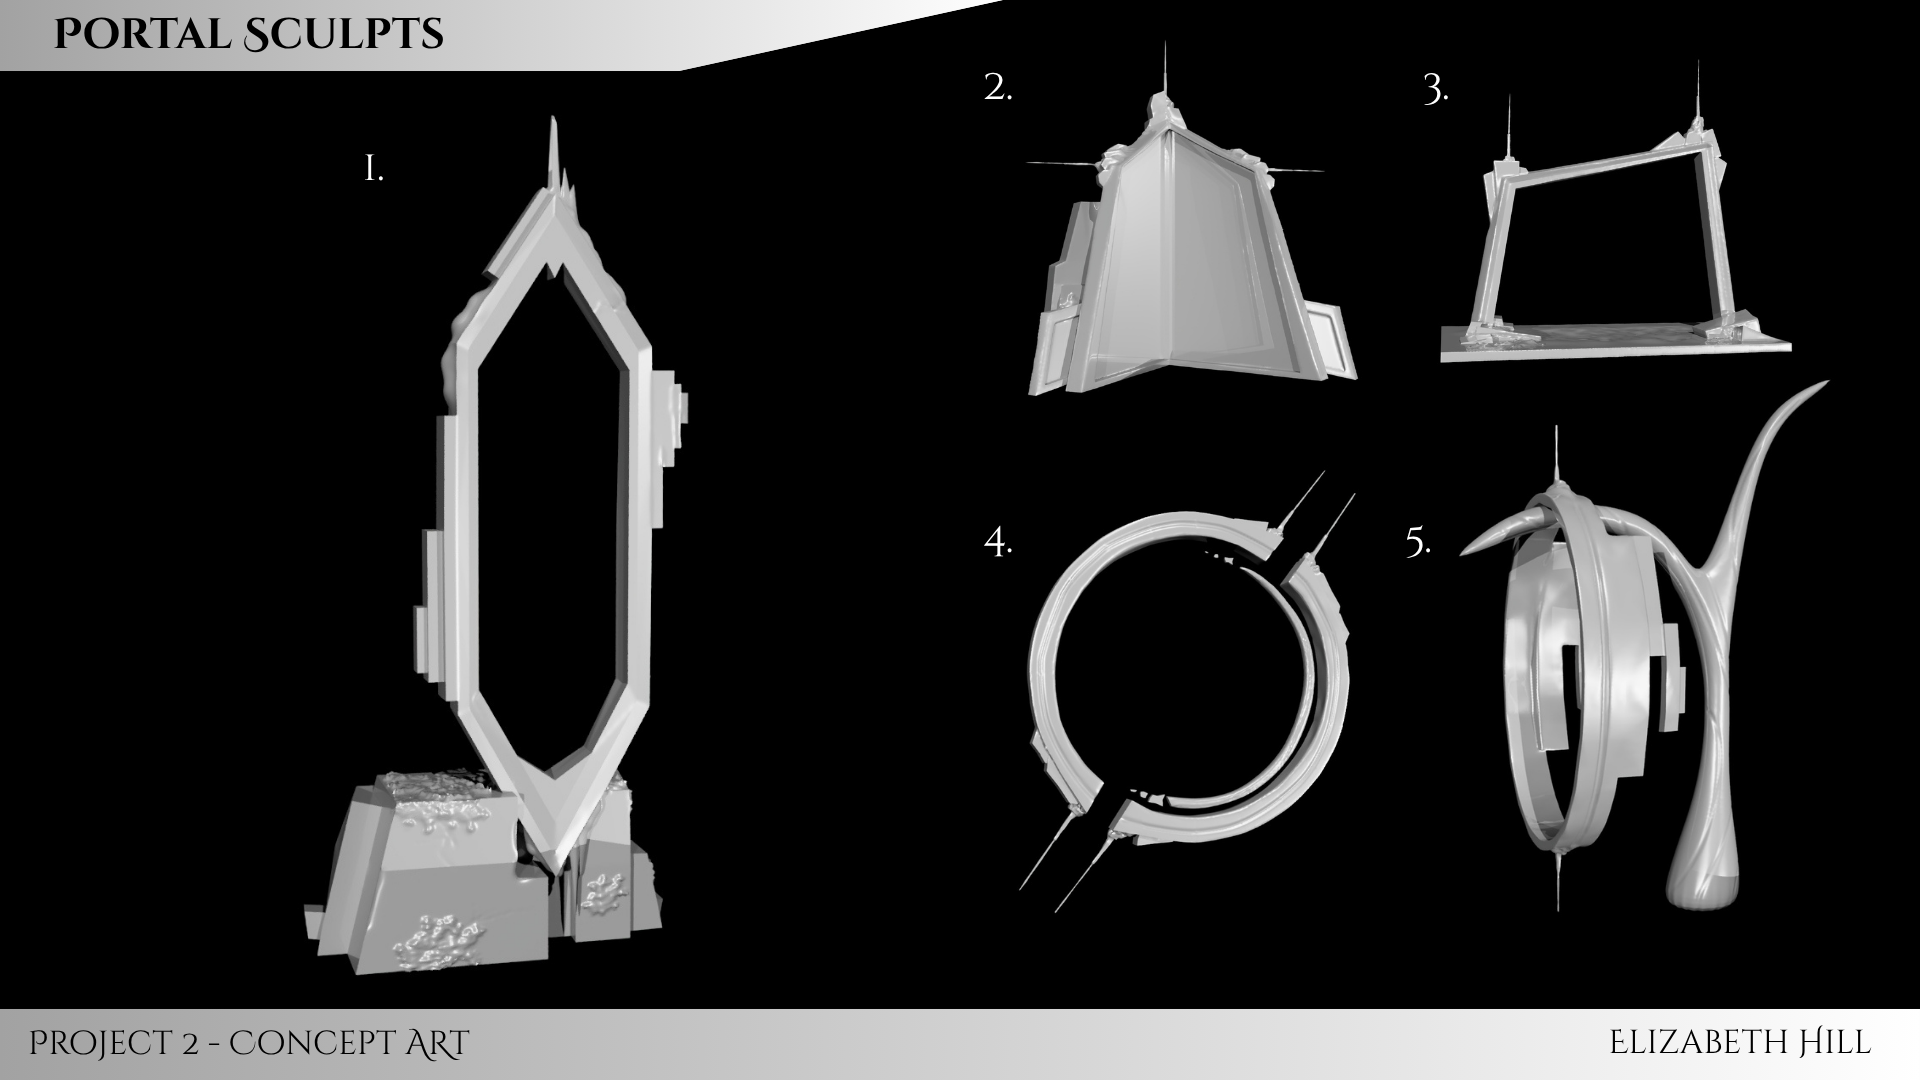
Portal Sculpts
Still Life
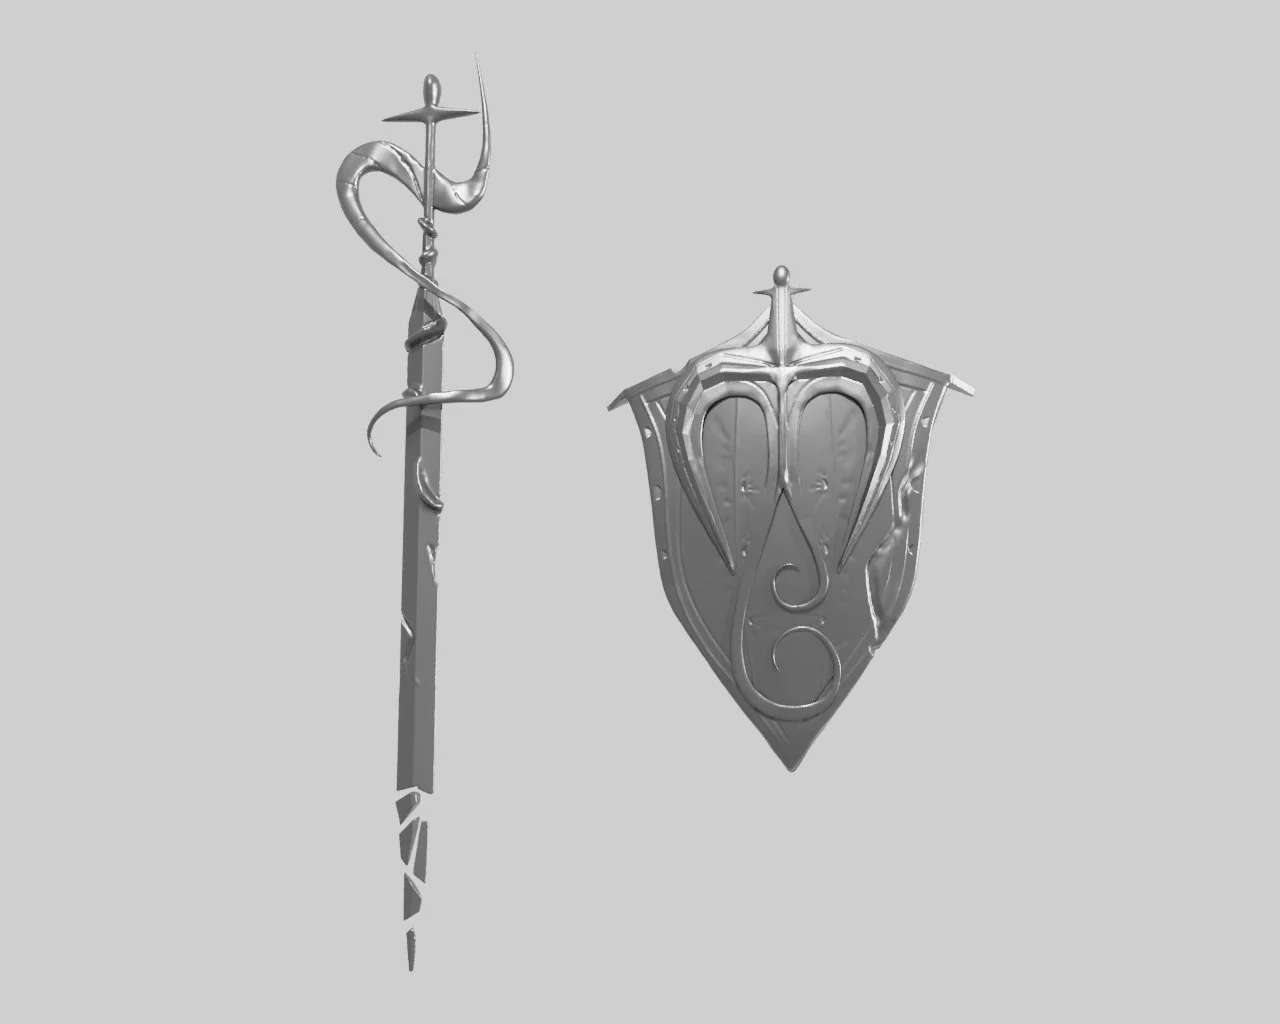
Sword & Shield
This sword and shield pair were created with the intention to have 2 separate objects work as a pair due to their aesthetic. The forms started with simple shapes and were later retopologized to allow for detail sculpting. Intricate forms, such as the swirling surface of the shield, were shaped separately and parented to the rest of the object. Details such as crinkles in the surface or damage from use apply a possible background story.
Autodesk Maya
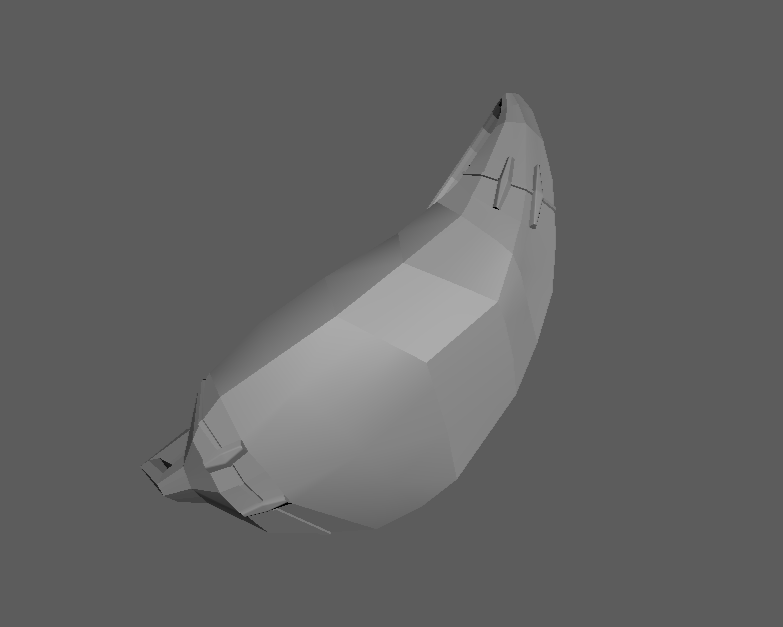
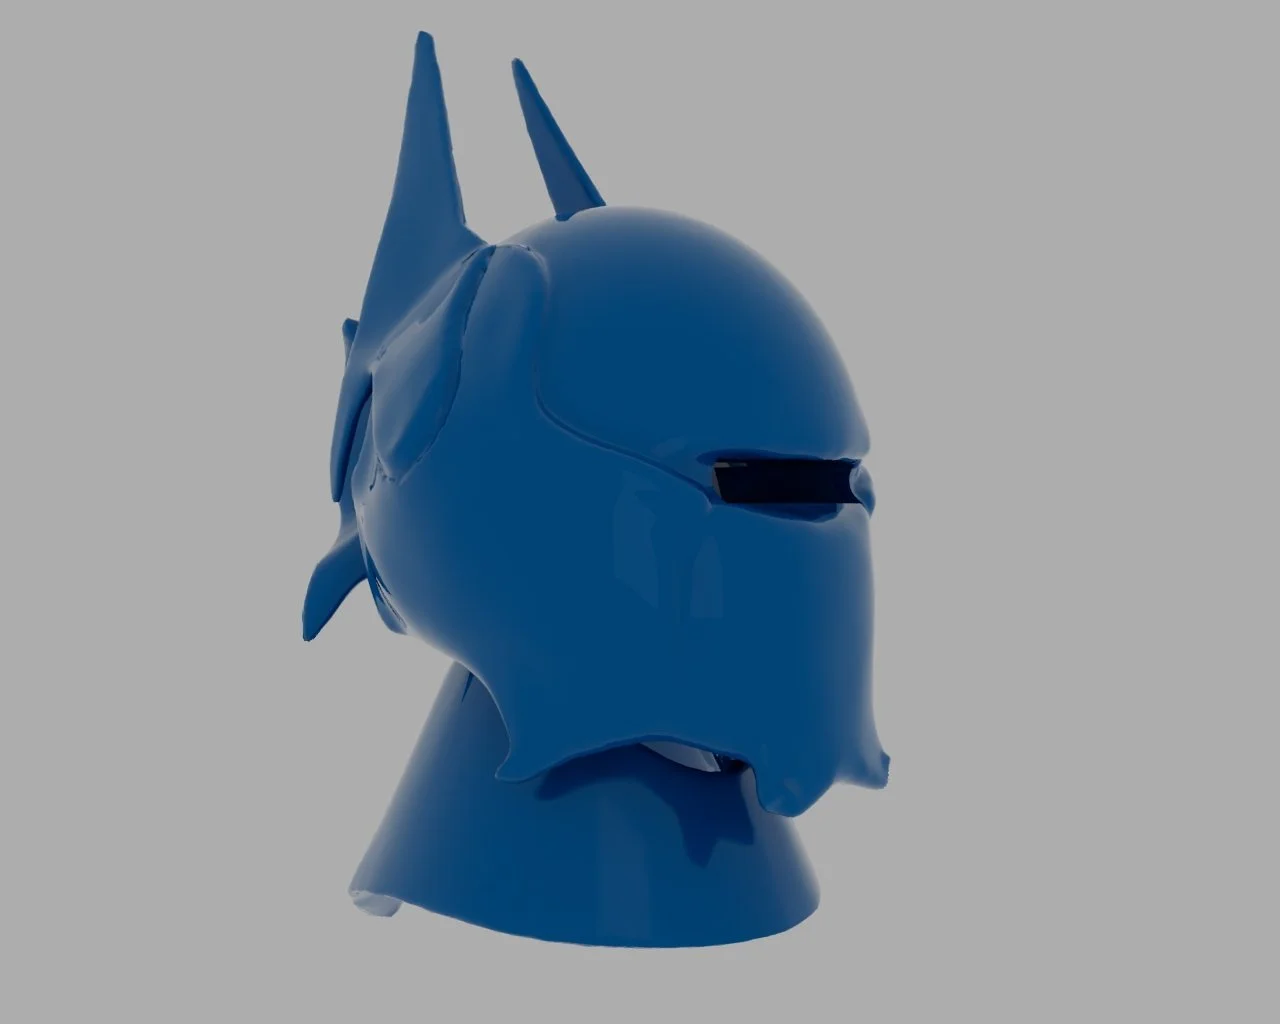
Sci-Fi Helmet
A sculpt of a sci-fi helmet with inspiration from knightly armor done in Autodesk Maya. The base form was created with boolean functions such as additive and subtractive. Face count was increased after booleans to allows scuplting of finer details and complex forms that come off the base shape. The helmet is textured with a Lambert materials with reflectiveness increased for a shiny effect. A skydome and point lights illuminate the scene.
Autodesk Maya
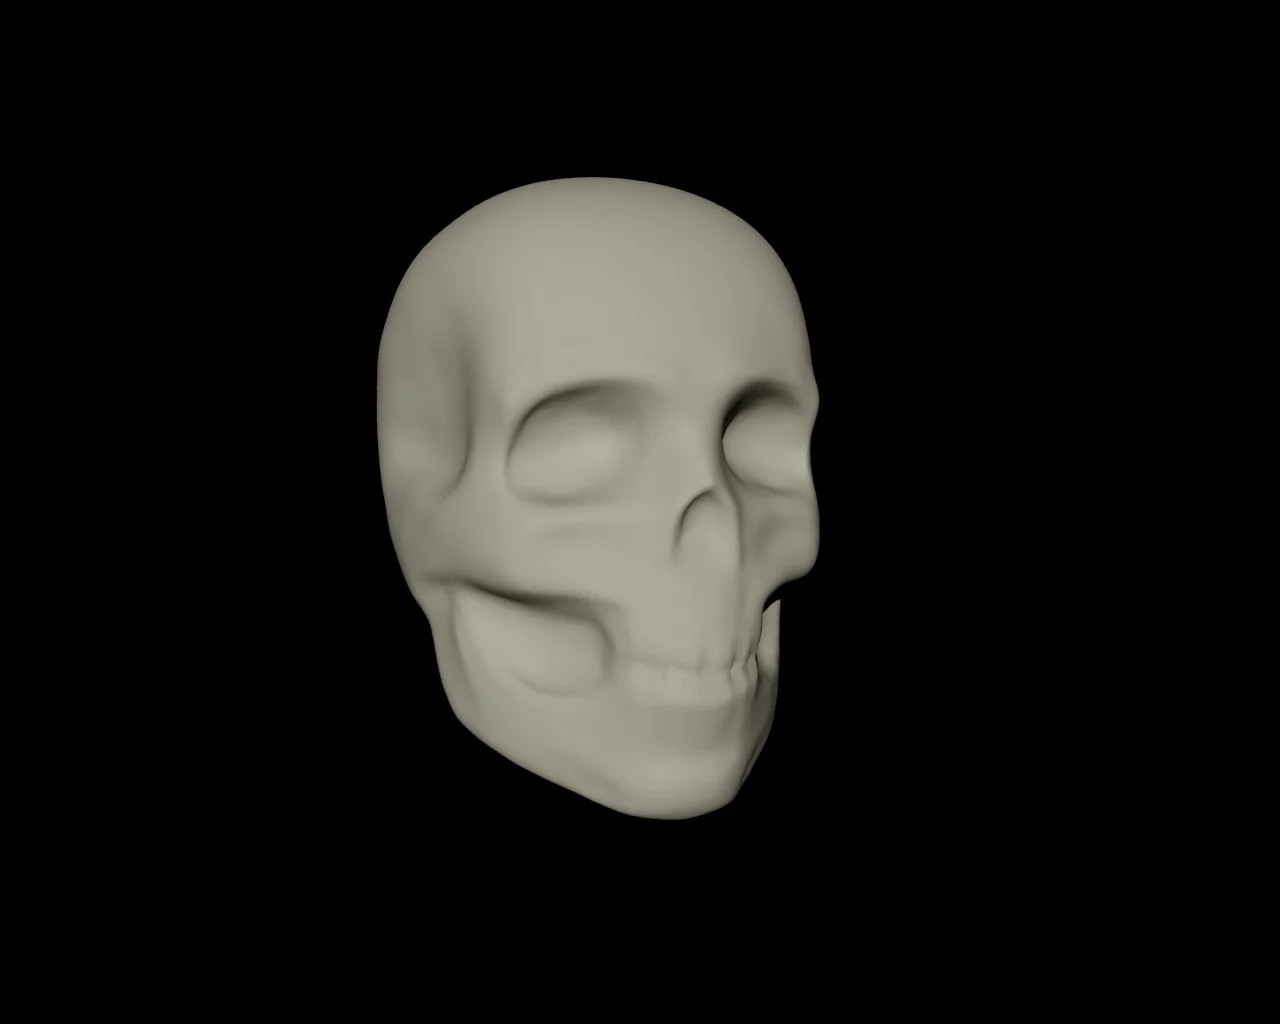
3D Skull Sculpt
A realistic model of a human skull done with Autodesk Maya sculpting tools. Limited brushes were used, inluding grab, smooth, and relax. Rough shapes were mapped out, later remeshing the model to allow for smaller details. The model is lit with a skydome and directional light, then textured with an adjusted Lambert material before the final render.
Autodesk Maya
Recreation of a scene from“The Secret World of Arrietty.”
For this Intro to 3D Animation project draft, I chose to recreate a peaceful scene from the 2012 Studio Ghibli film The Secret World of Arrietty. I transformed the original 2D clip into a 3D style, modeling the individual components of the scene in order to rebuild it. My first semester-long 3D project, it covered techniques in rigging, sculpting, texturing, lighting, and animating, all of which provided me experience with Maya. The requirments were to be a clip of at least 30 seconds, a main figure, 3 props, camera movement, and some sort of movement in the main figure.
Autodesk Maya, Procreate. Fall 2025
Ideation
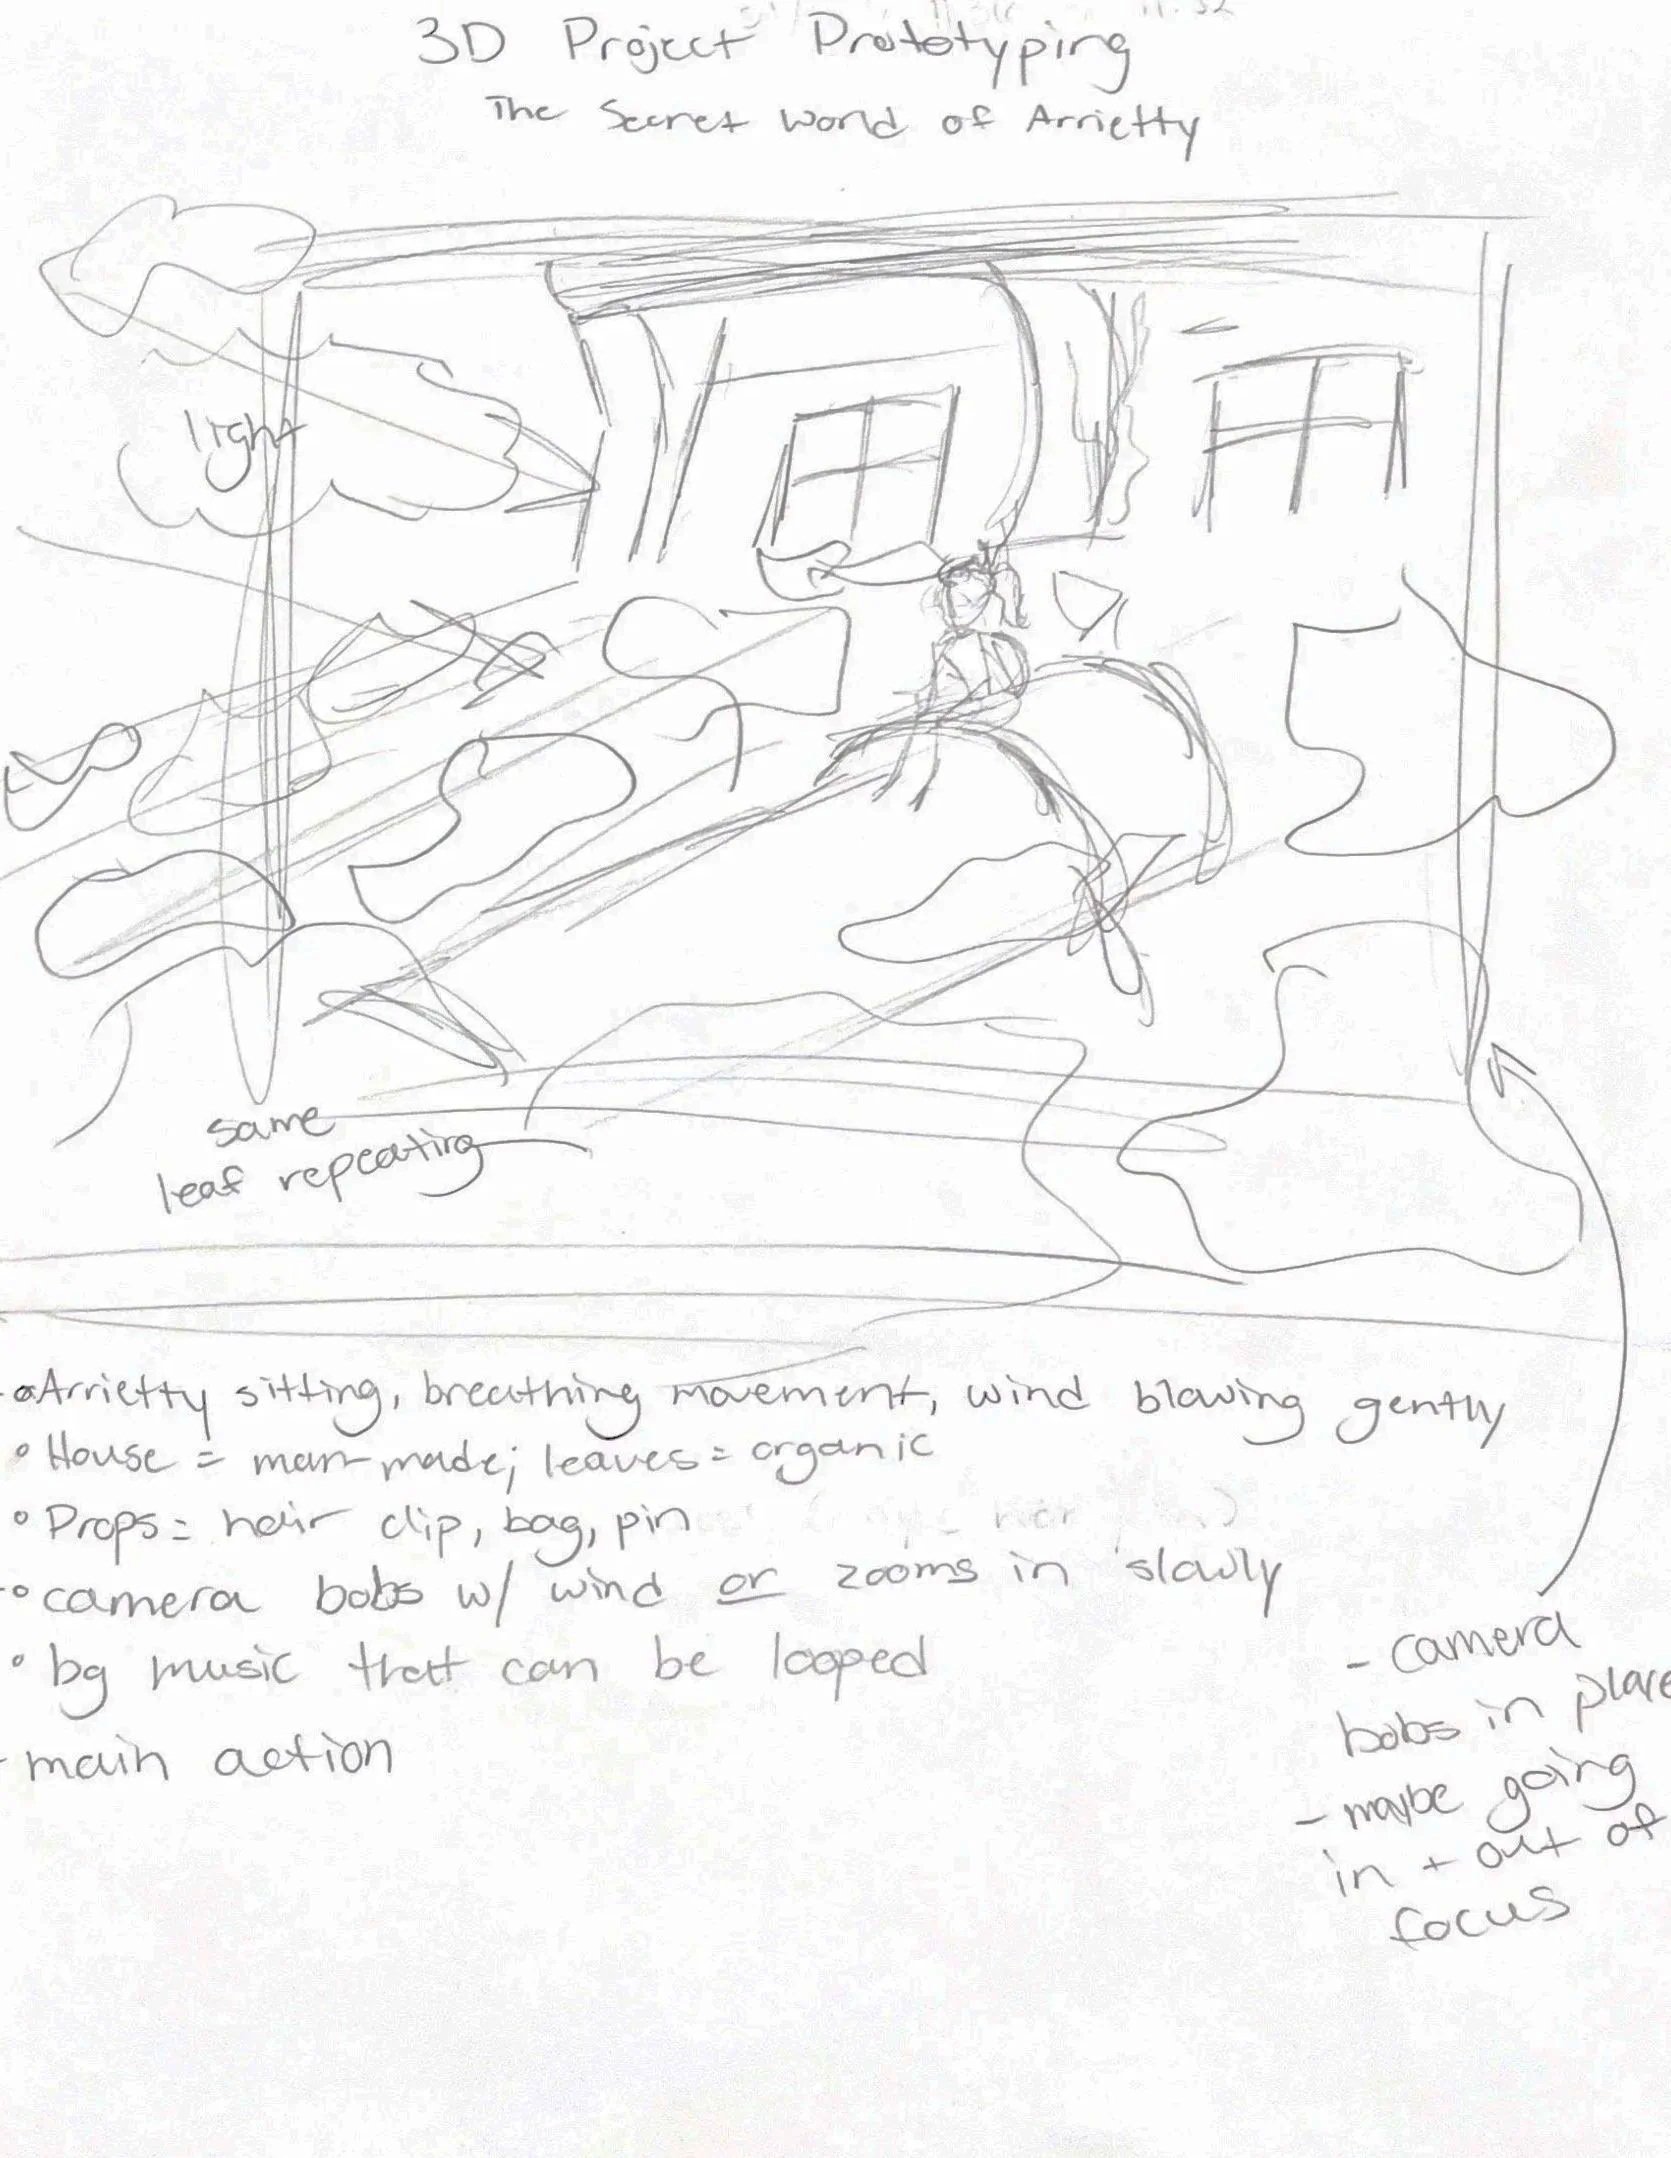
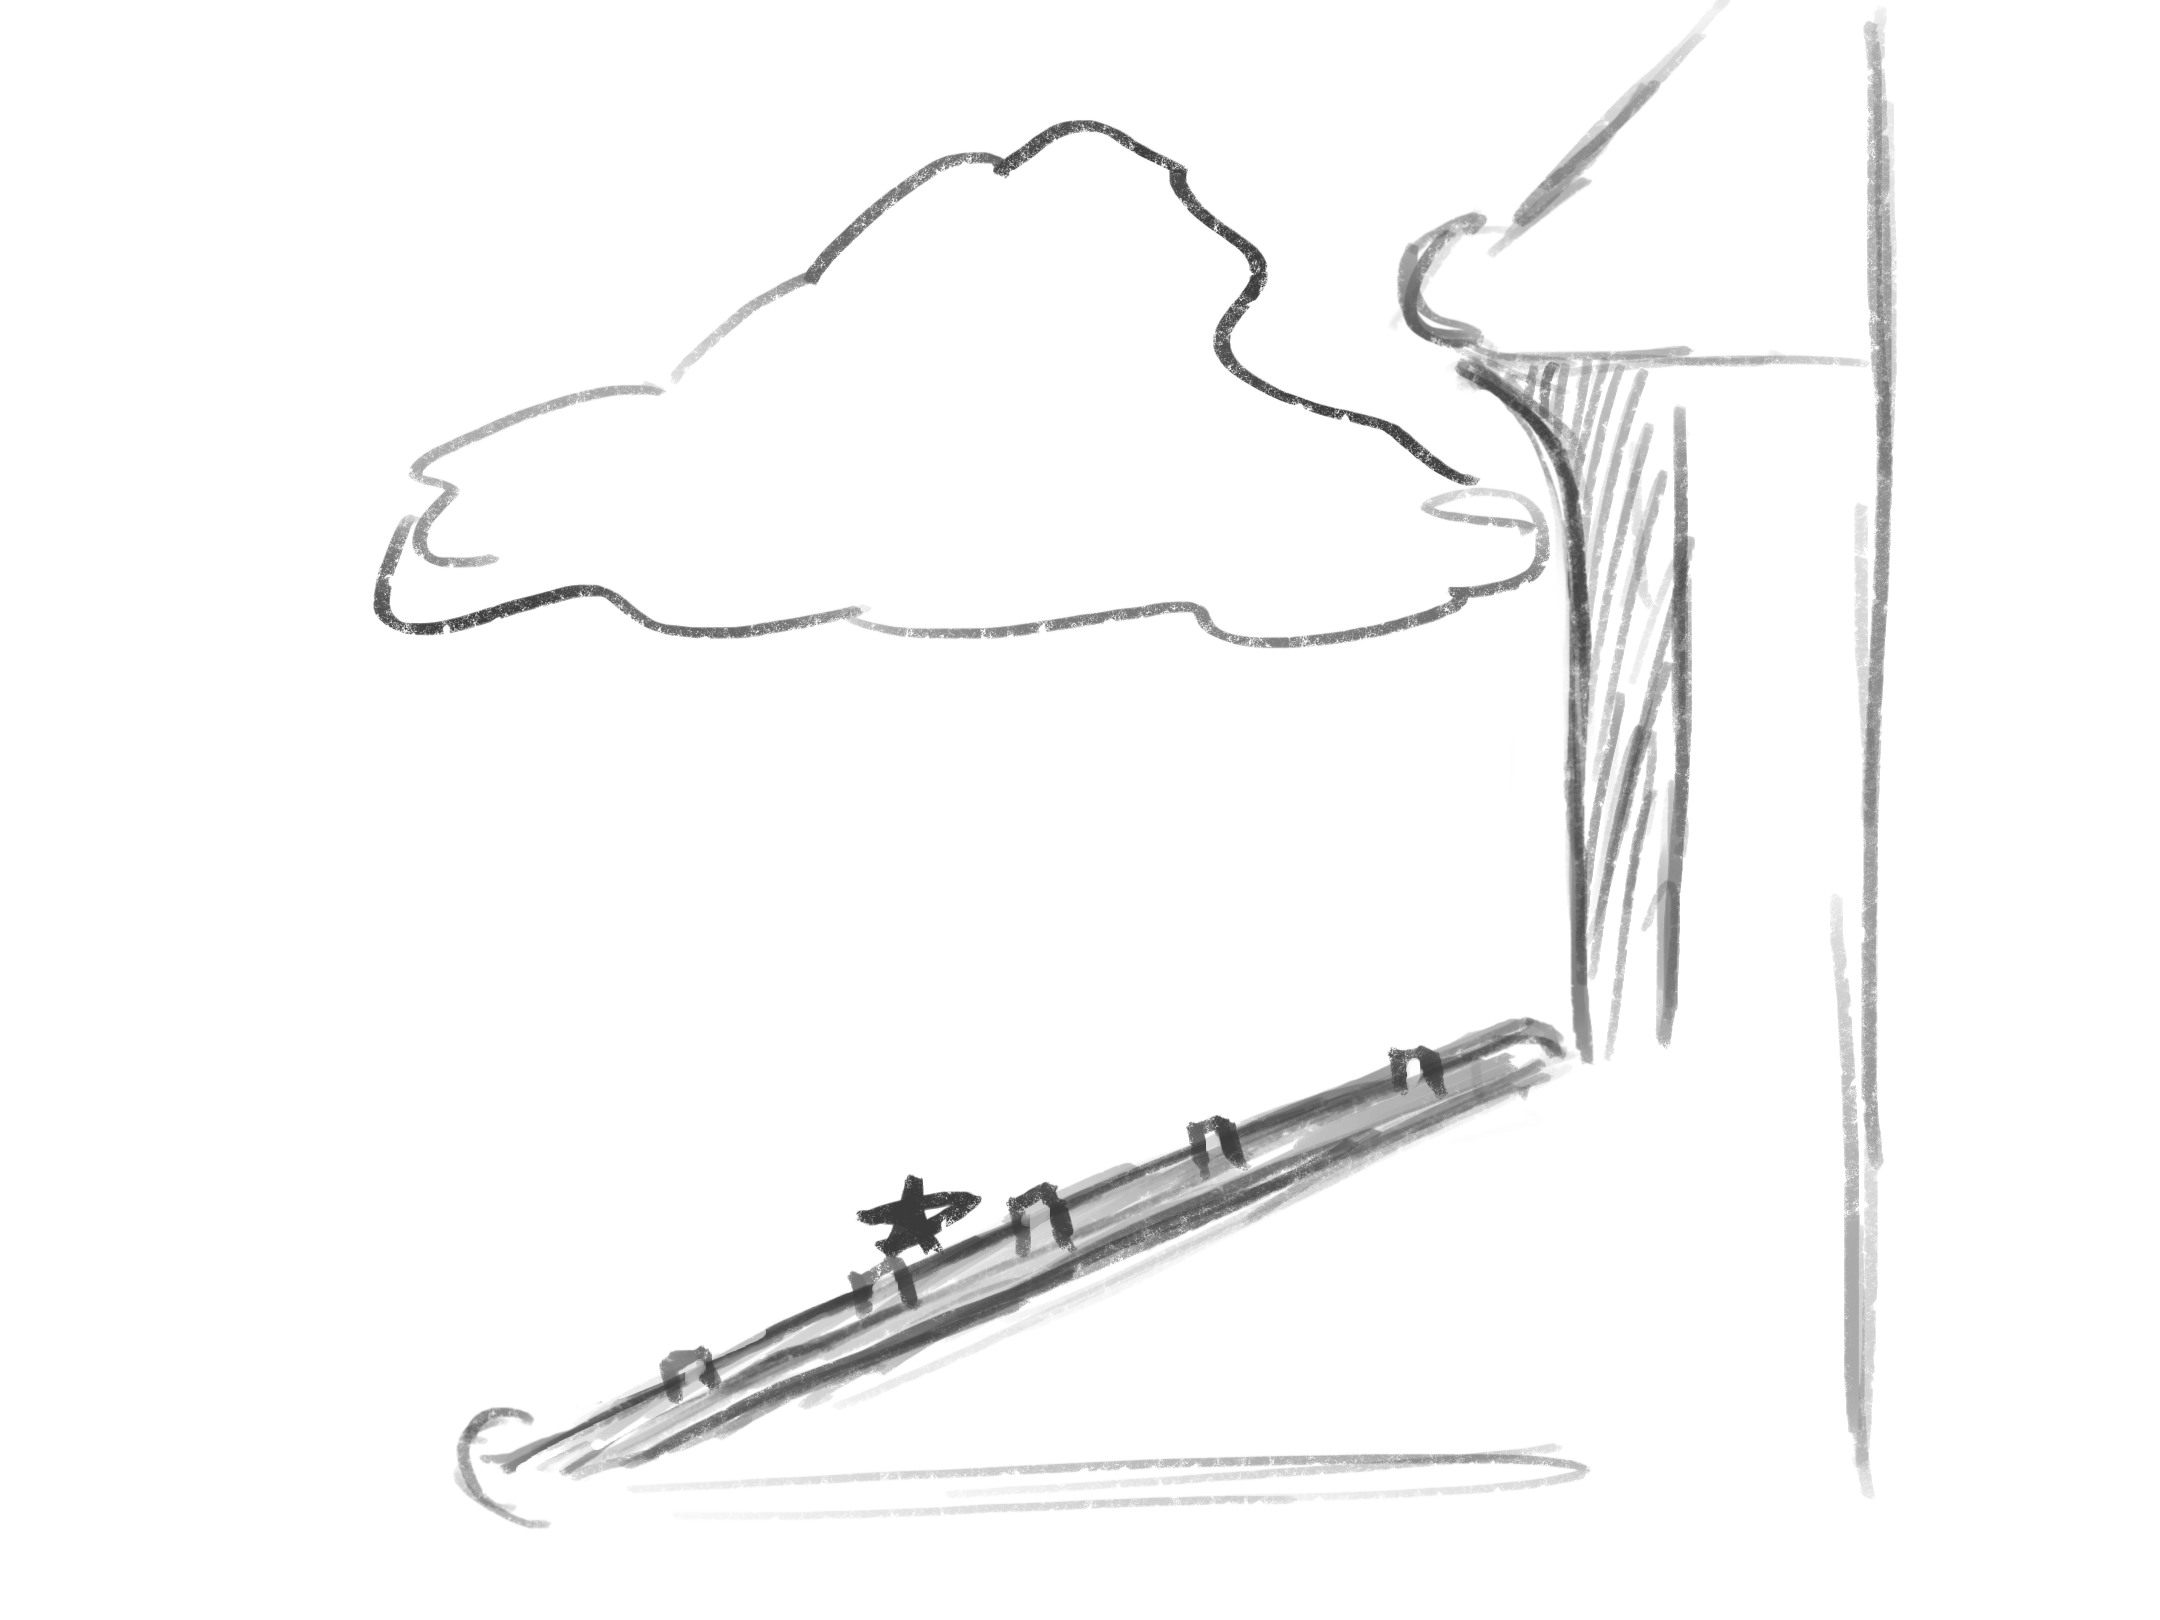
Before the mood-boarding and clean sketches, I had an ideation phase which involved rougher sketches of all the elements I eventually modeled. This included planning out my main view and the camera position/lighting, as well as sketches based off other clips throughout the movie.

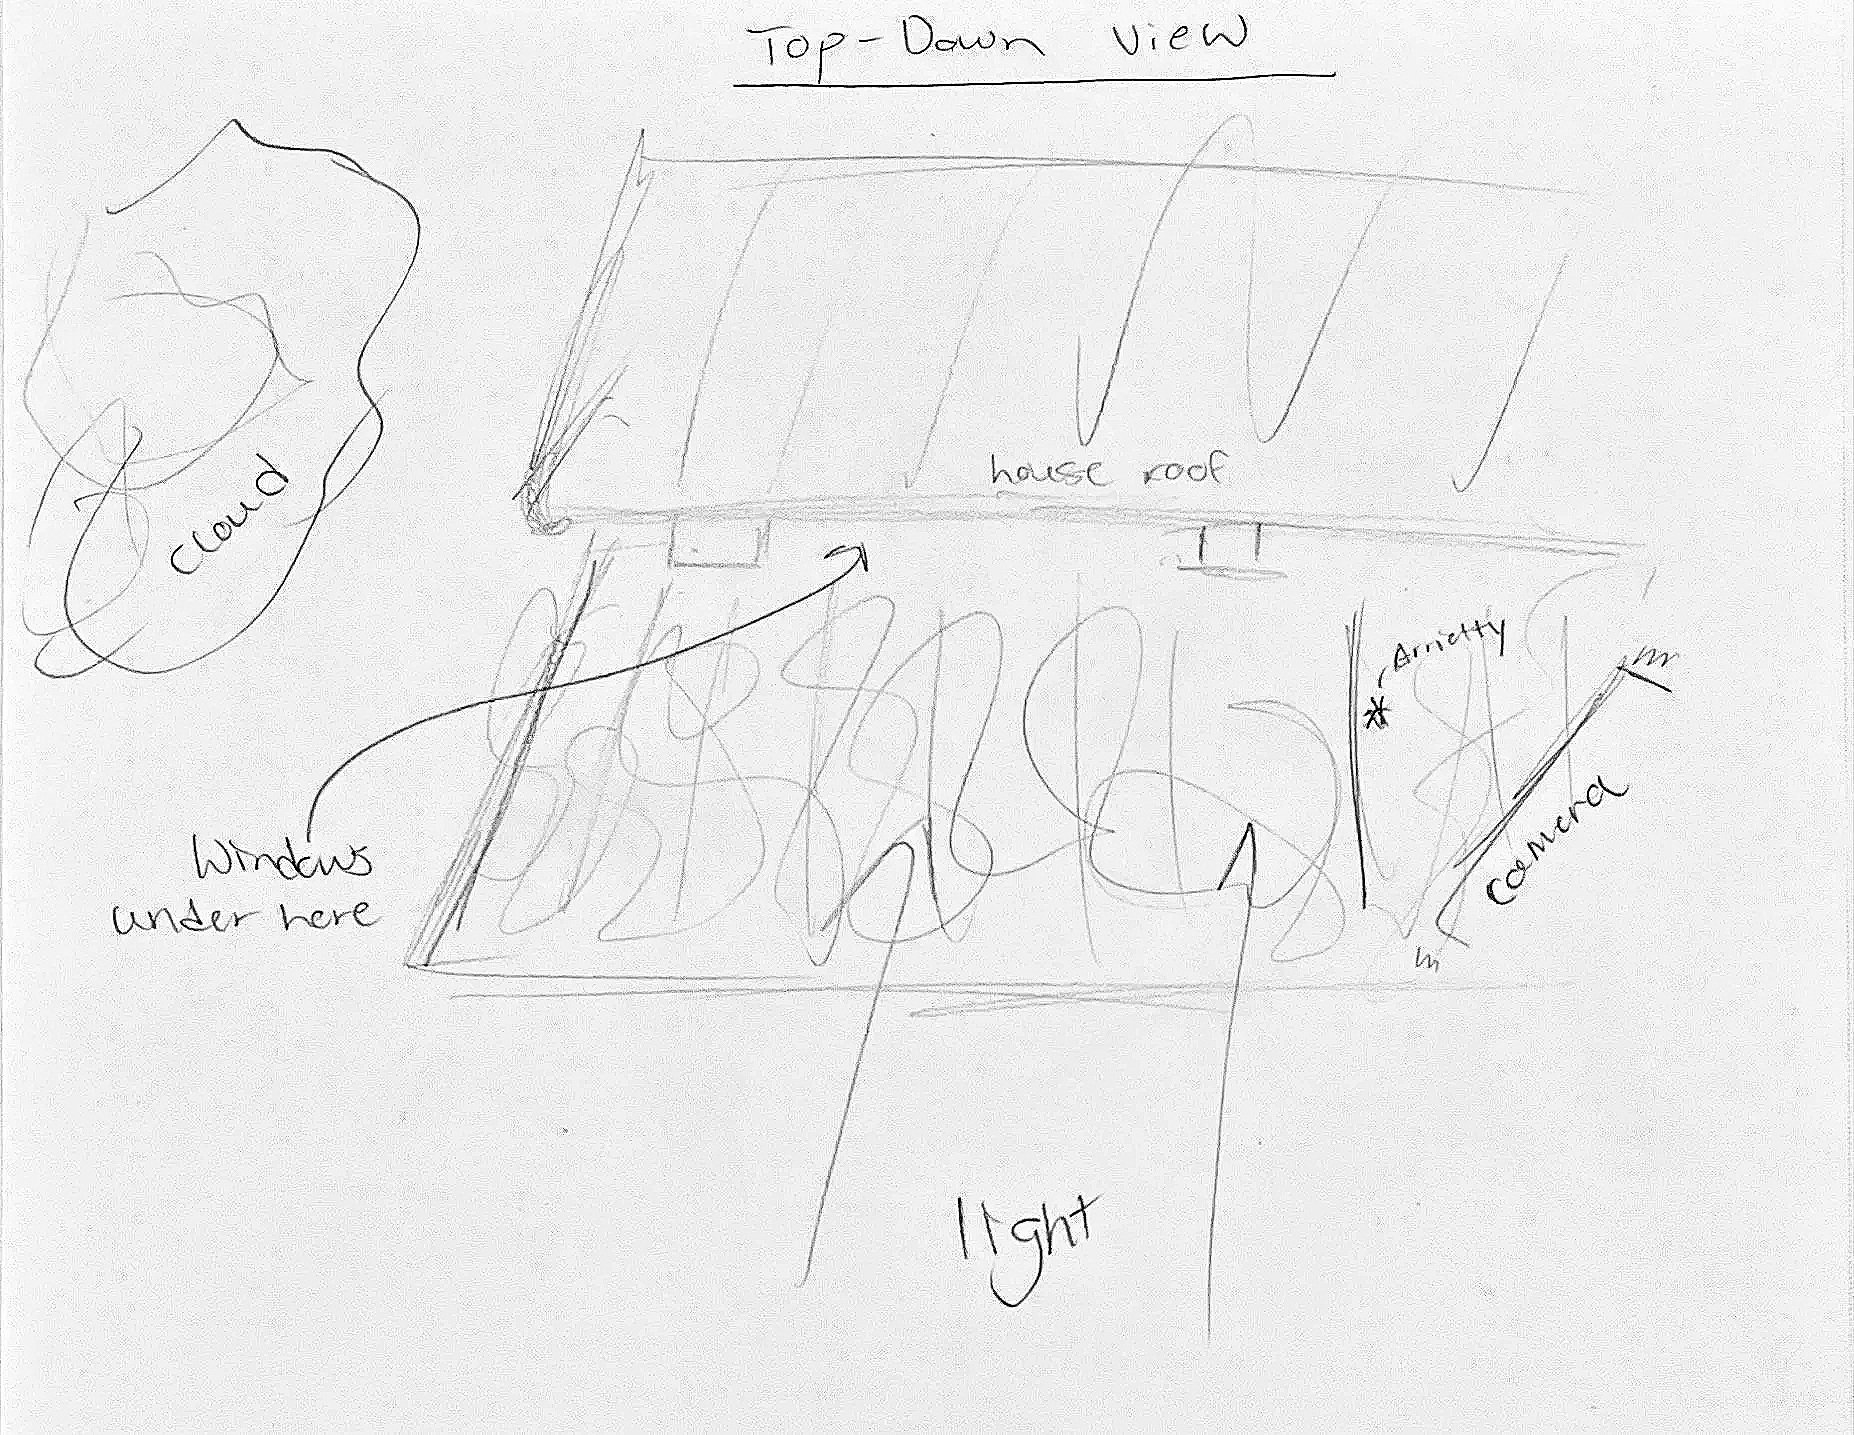
Scans of scene ideation. Graphite on paper. Fall 2025.
Development Process
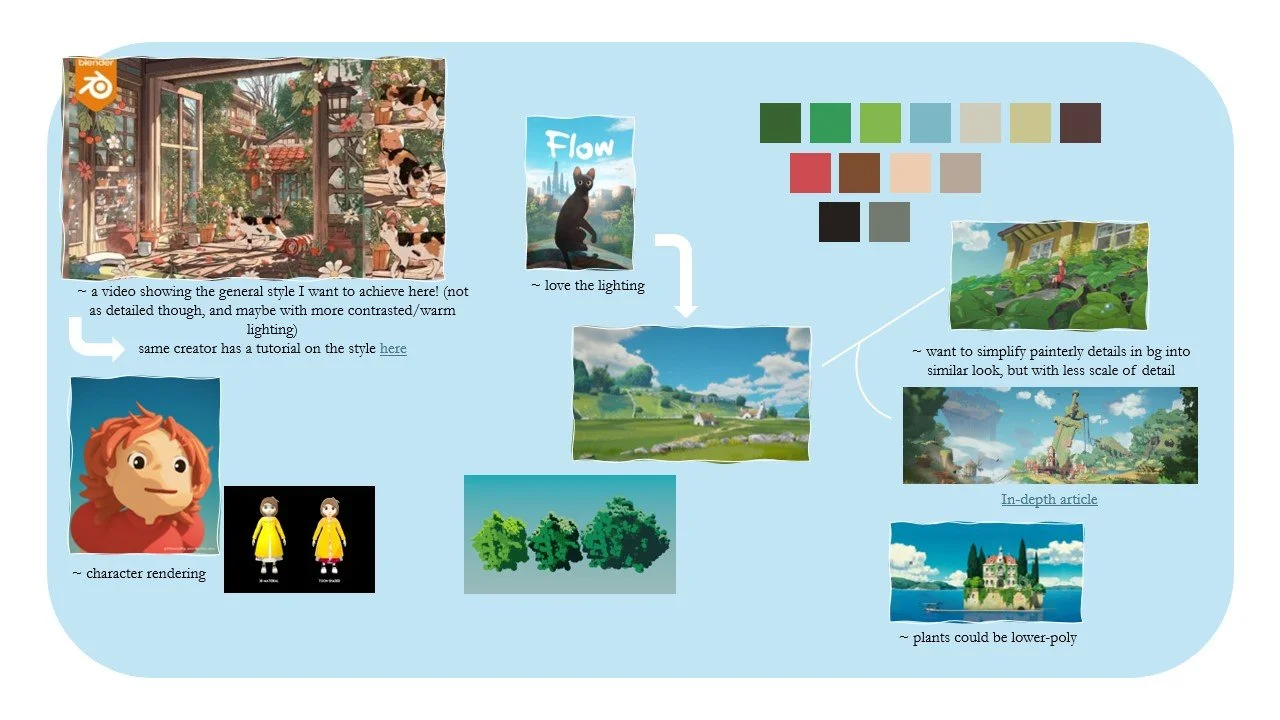
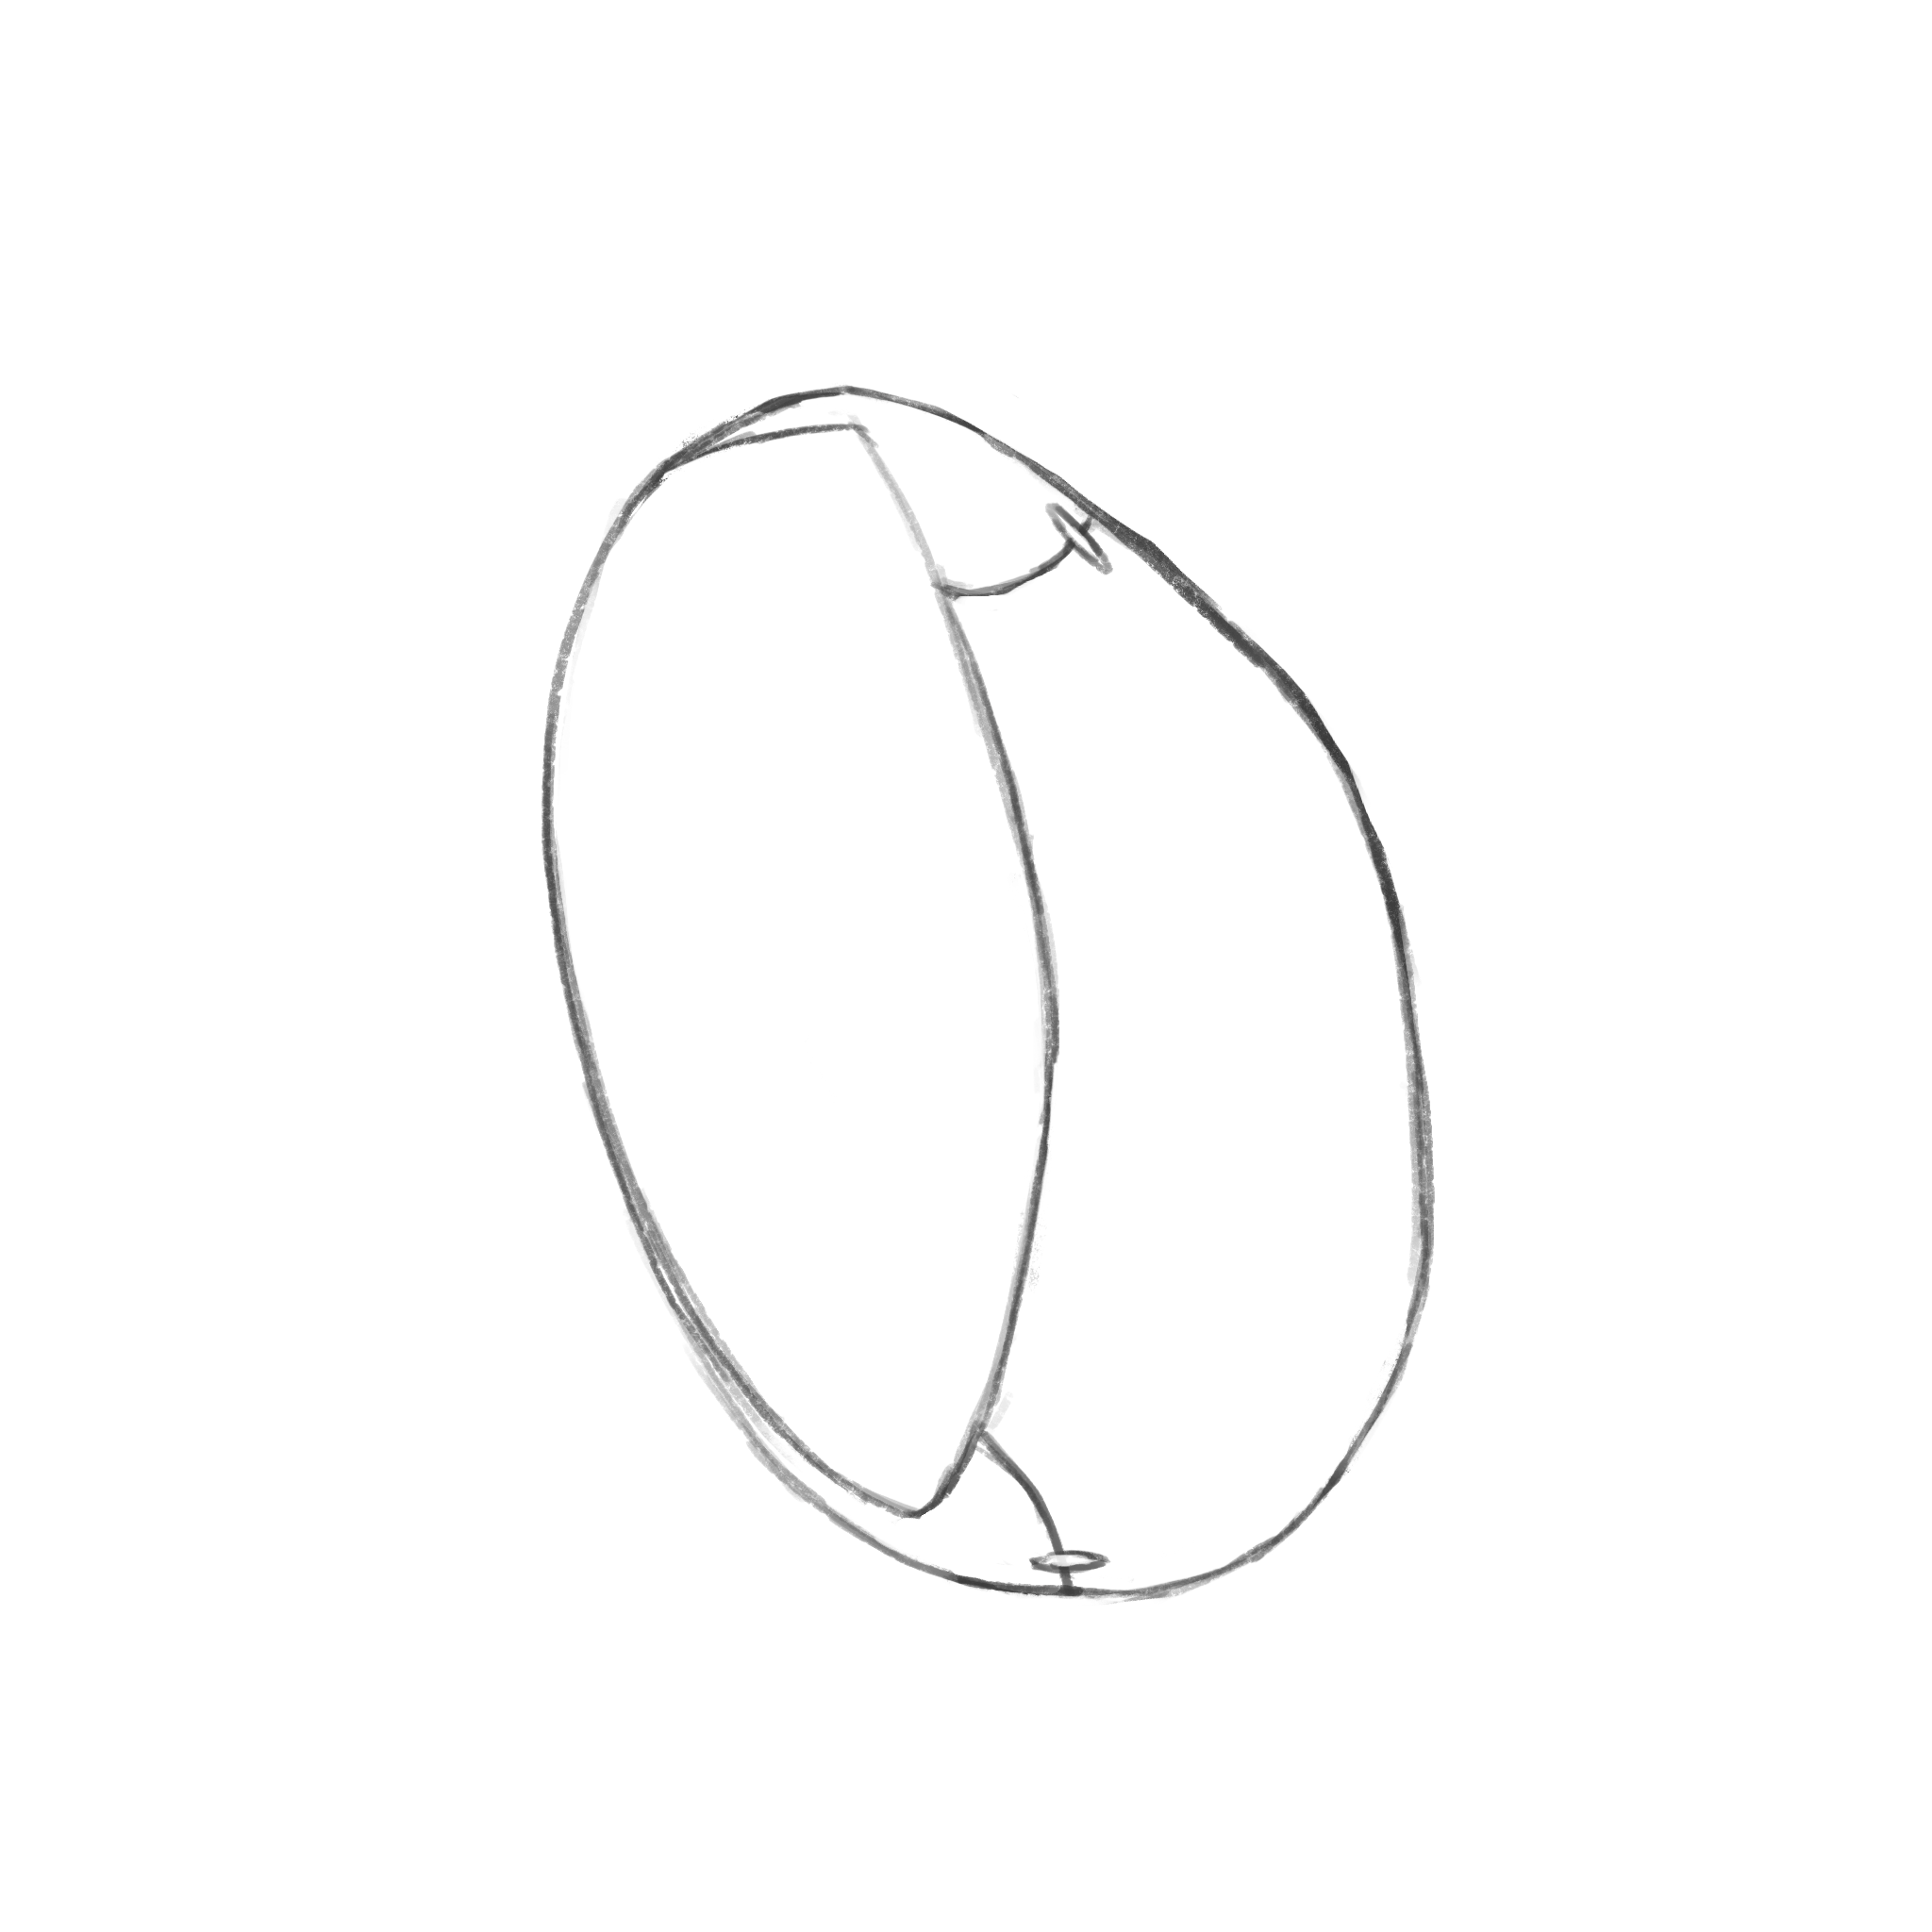
I then created a mood board for this project. With the original media being 2D, I needed to be clear with what I wanted my 3D end product to look like. I compiled movies and assets created by other artists that inspired me in terms of style, lighting, and color pallettes. After that I created clean drawings to be my modeling references.
Using my drawings of each element from multiple angles, I began modeling in Autodesk Maya. My process involved a simple cube scaled and extruded into the shape of each item. I made sure to change my point of view every few minutes, making sure that it looked accurate from every view. In the future, these models will be textured and the scene will include lighting.


Arrietty and her hair clip (First vs final draft).


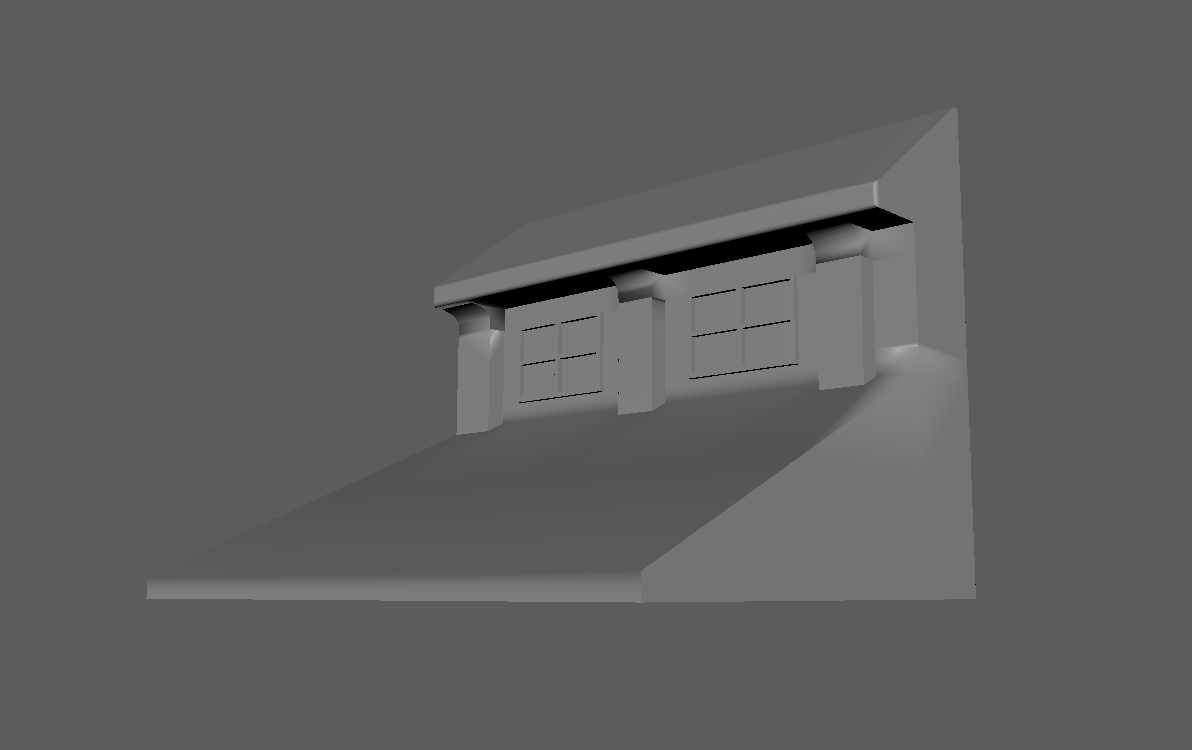
Stacked roof shingles, later repeated and grouped to build the roof.
The entire scene and house reference, with Arrietty’s location marked.
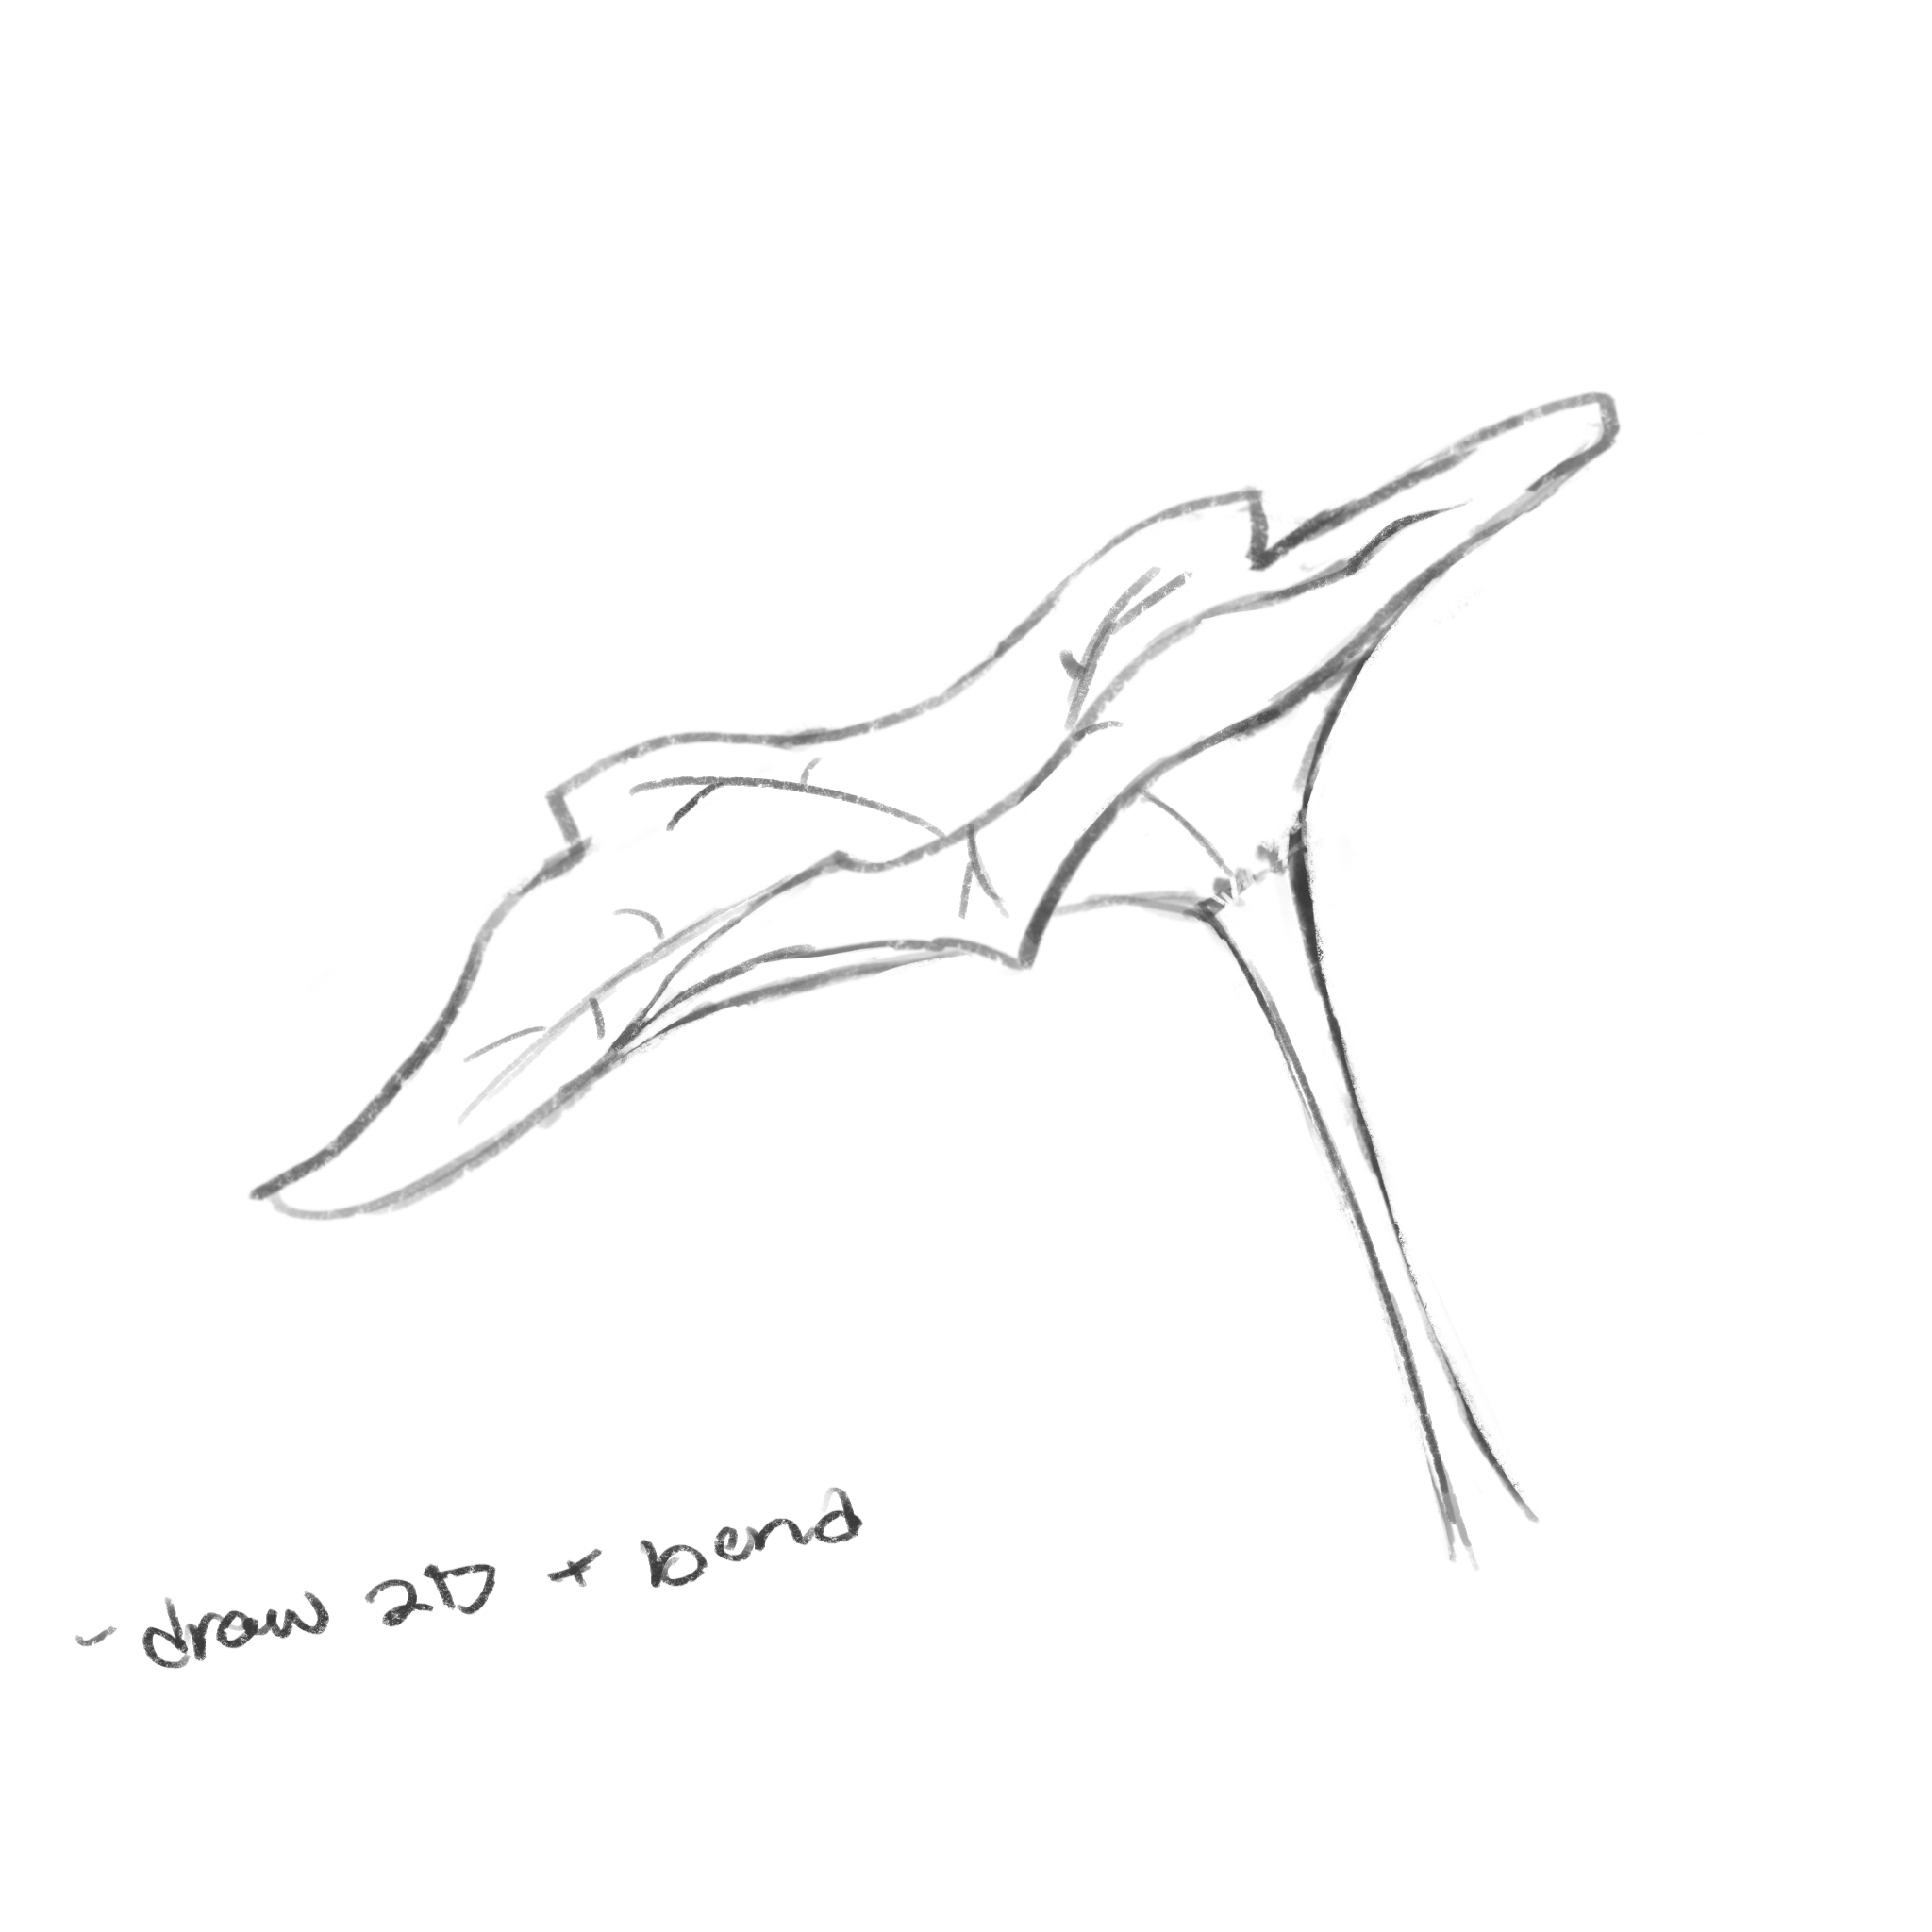
An ivy leaf, later repeated in the clip’s background.
Arrietty’s bag and pin.

Models
All model drawings done with Procreate. Fall 2025.